I was nominated to join the #cricutwindowchallenge where you add a different image to your front window every day for seven days. The aim is to create a scene that will inspire joy in all the people walking past. In these uncertain times when so many are out with their families enjoying fresh air for exercise, a beautiful window scene can provide a bright spot in their day.
In this post, I’ll outline how I’ve created one of my window additions – a butterfly that is sure to inspire some whimsical thoughts.
Materials
- Cricut Machine (I have the Explore Air 2)
- Cricut Removable Vinyl
- Cricut Mat
- Scissors
- Transfer Tape (you can also use clear contact)
- Weeding Tool
- Scraper for burnishing (you can also use a credit card)
- Alcohol wipes (I used baby wipes)
Step 1: Choose a Design
The first thing I do is select an image from the Cricut Design Space. Some images require a subscription, but there are plenty of free options available. Cricut have also provided access to additional images for free during these times where many are at home crafting. There are so many great images, this was actually the step that took me the longest to do! For this project, I’ll be doing a butterfly. (Please also ignore my typo on the image below lol).

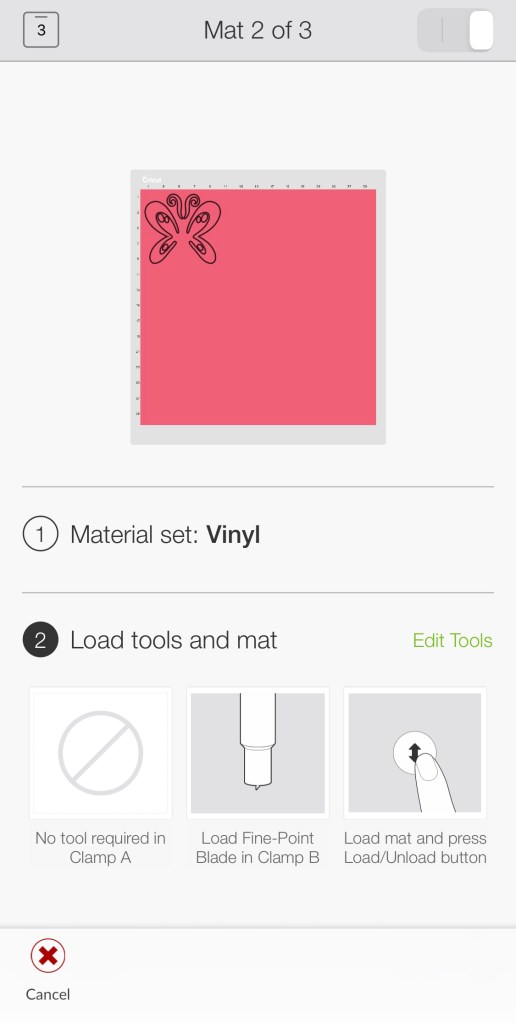
Step 2: Cut the Design
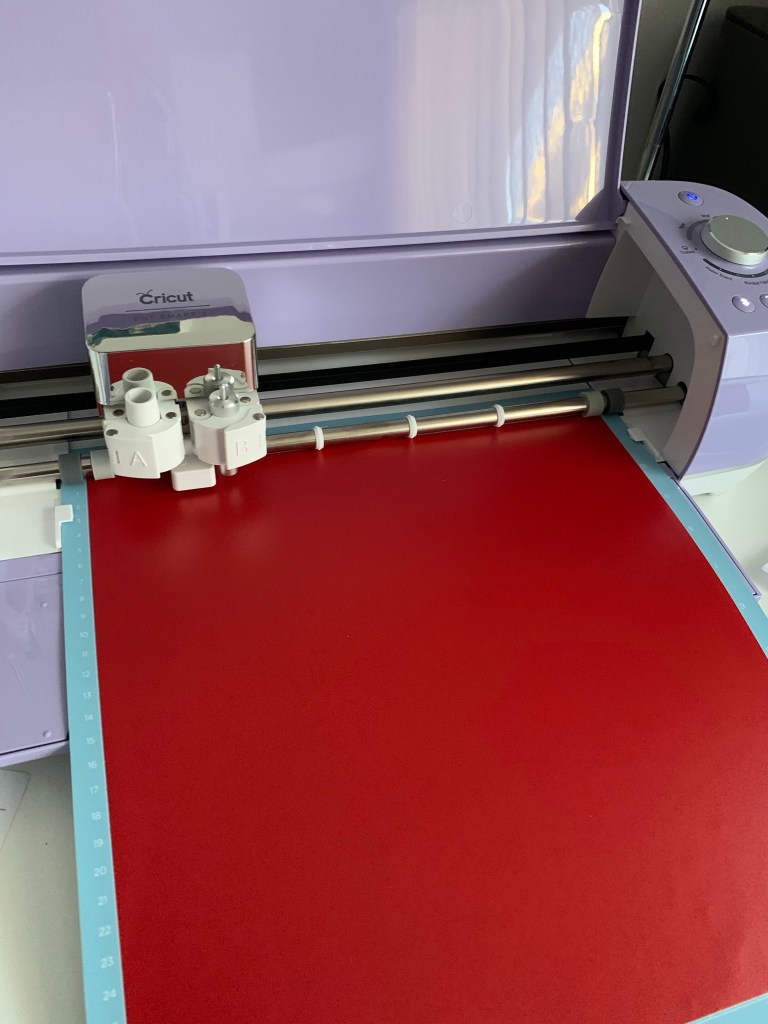
Once you have selected the design, you will need to choose which colour vinyl you want to use. If you don’t have a wide variety, you could just use the one colour and cut it all in one go. Because this design has three colours, I will need to place the vinyl and load the mat three times.
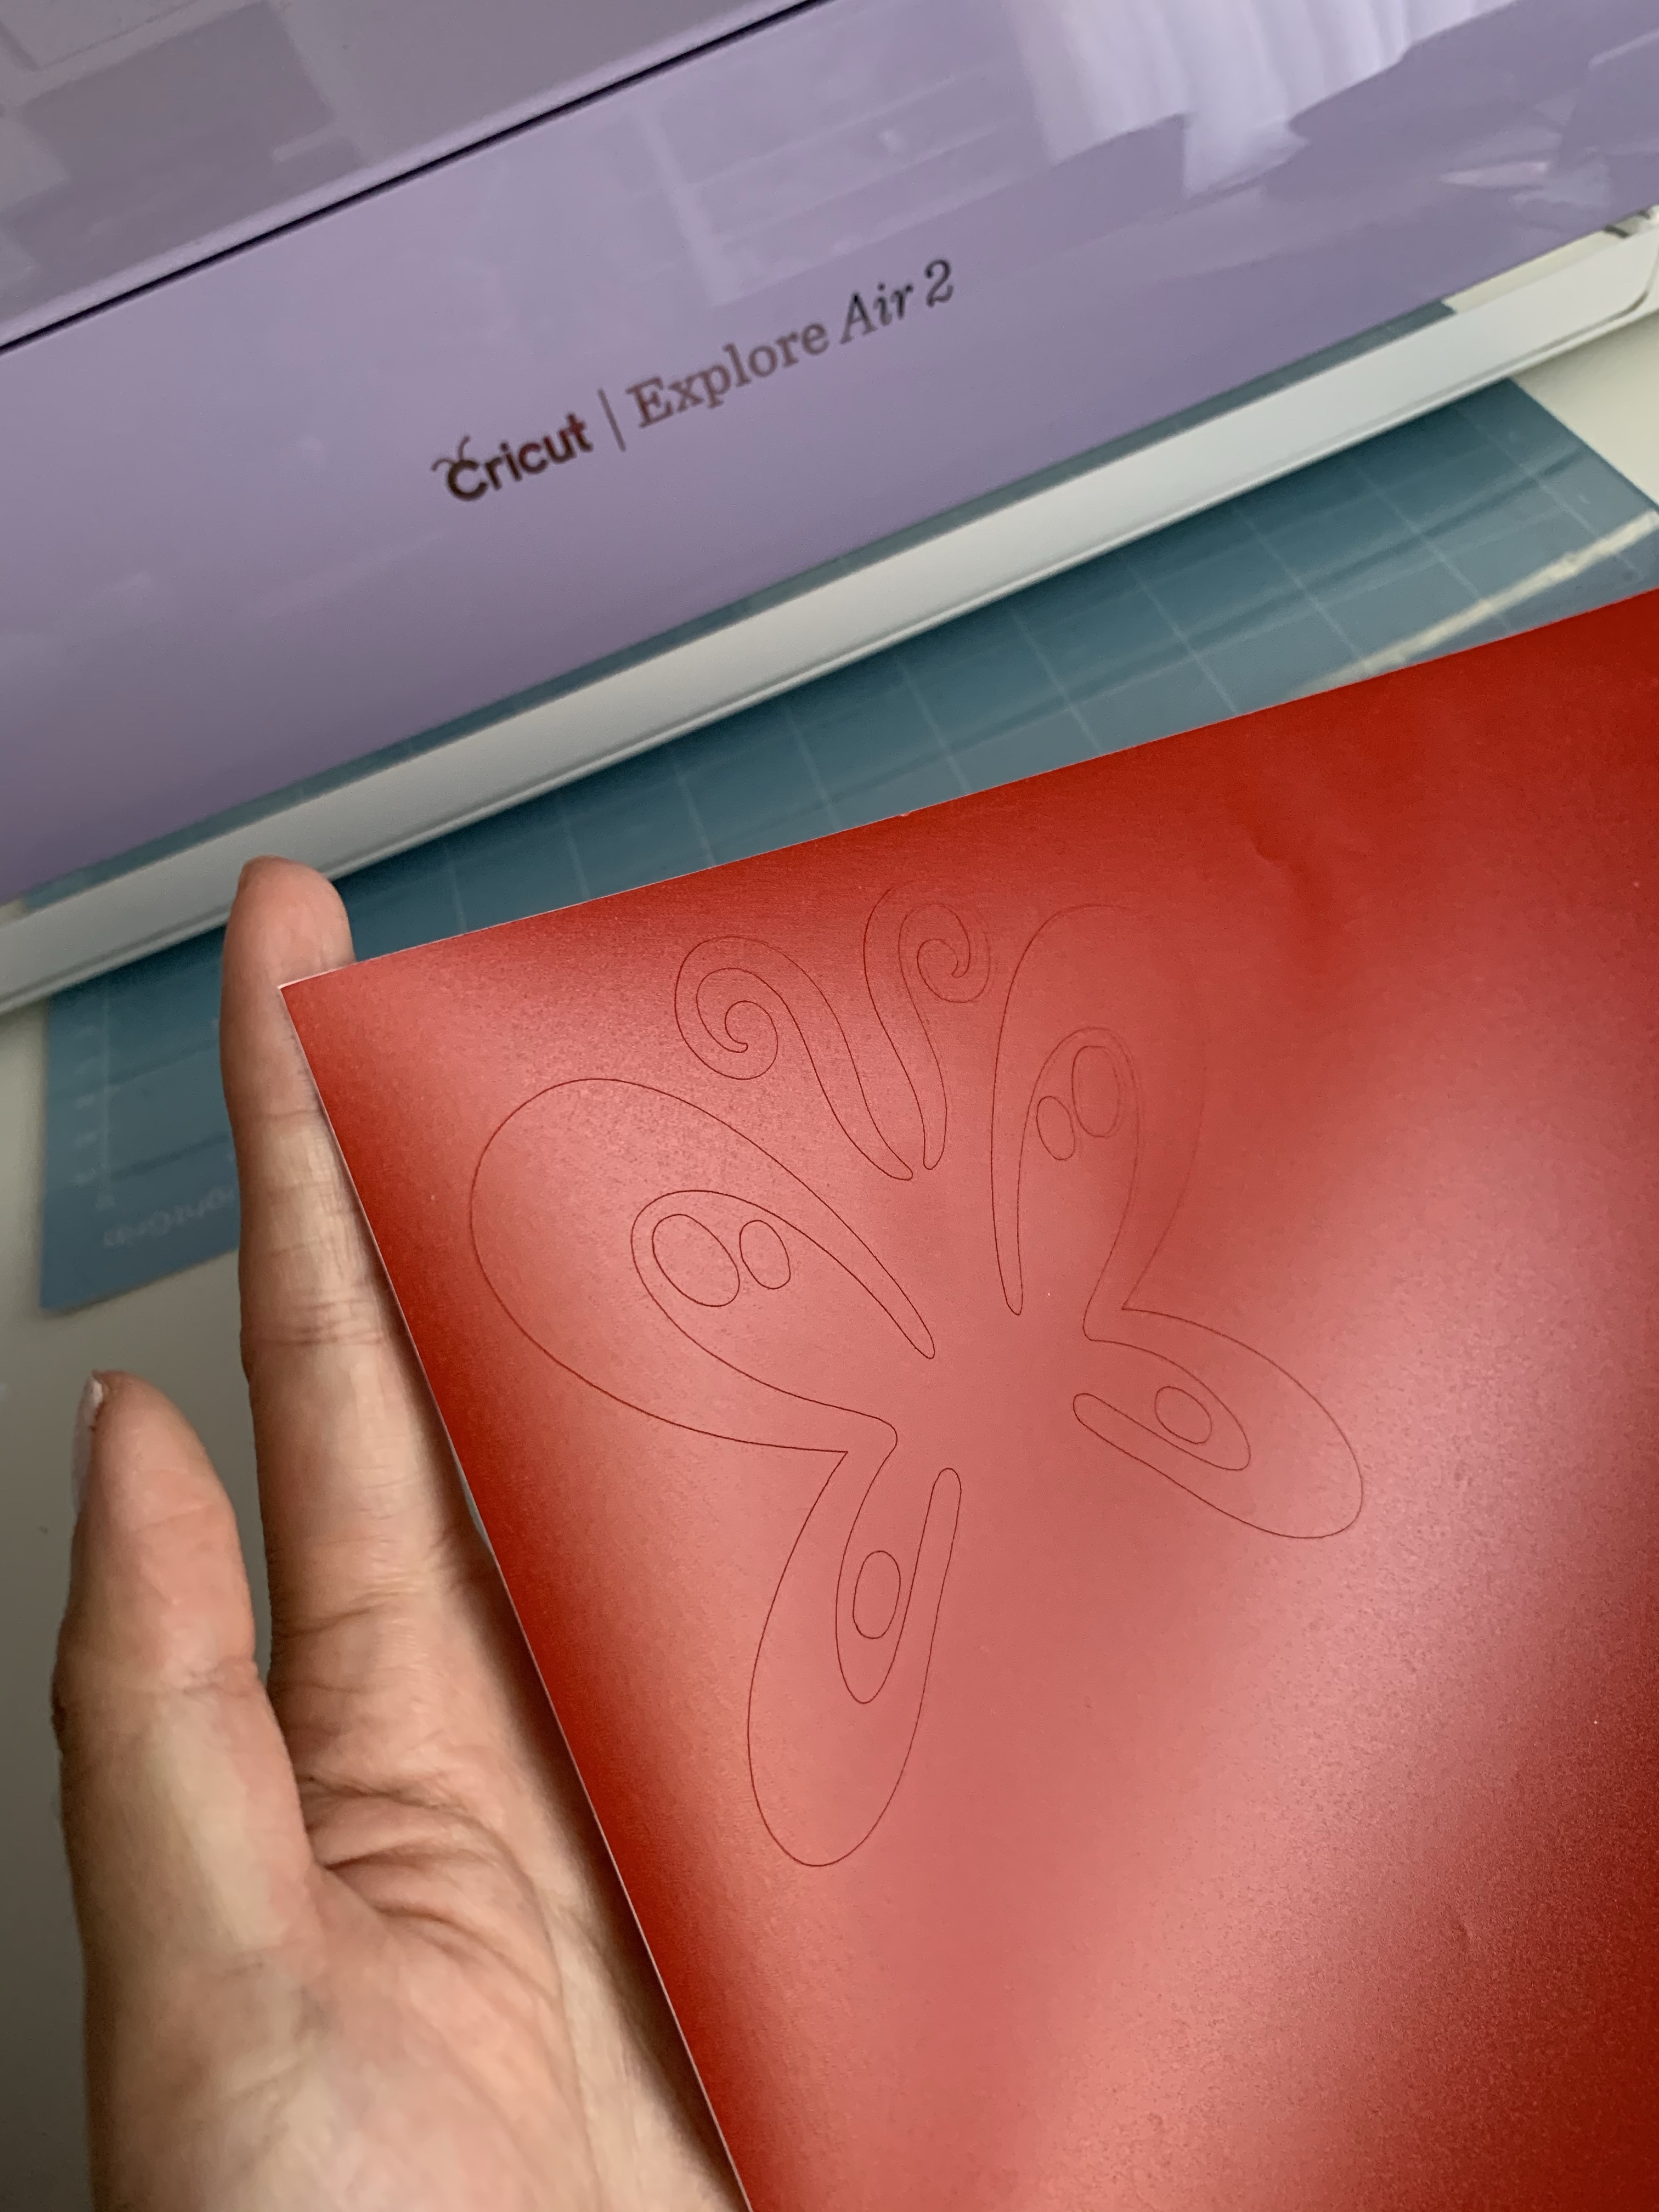
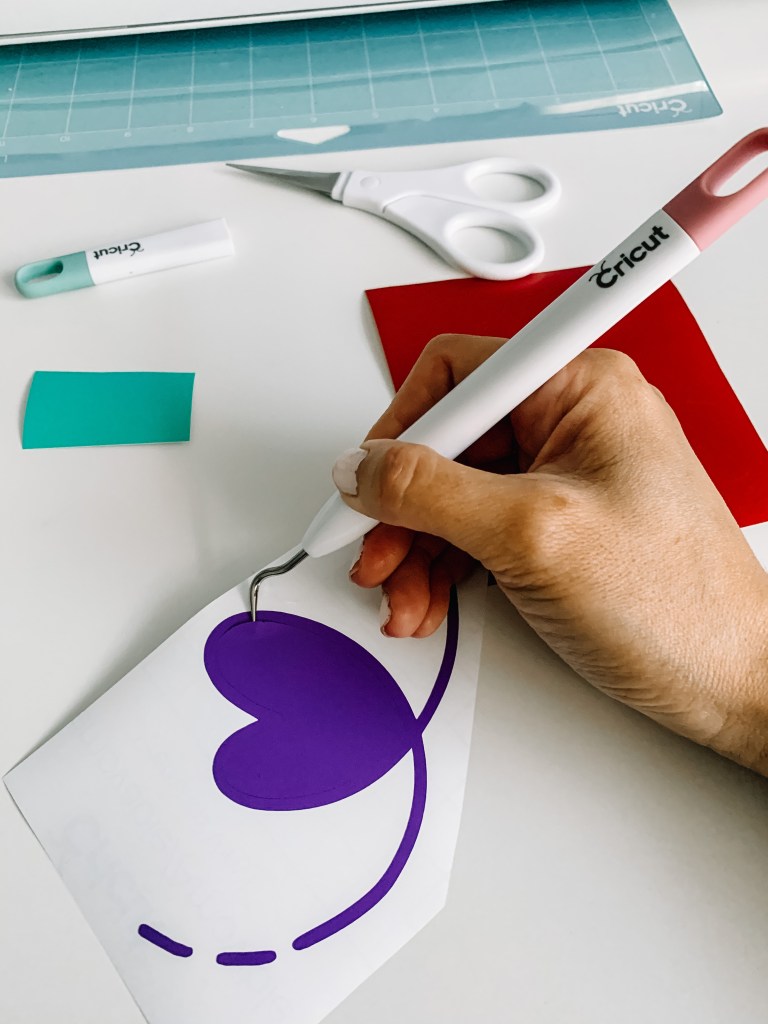
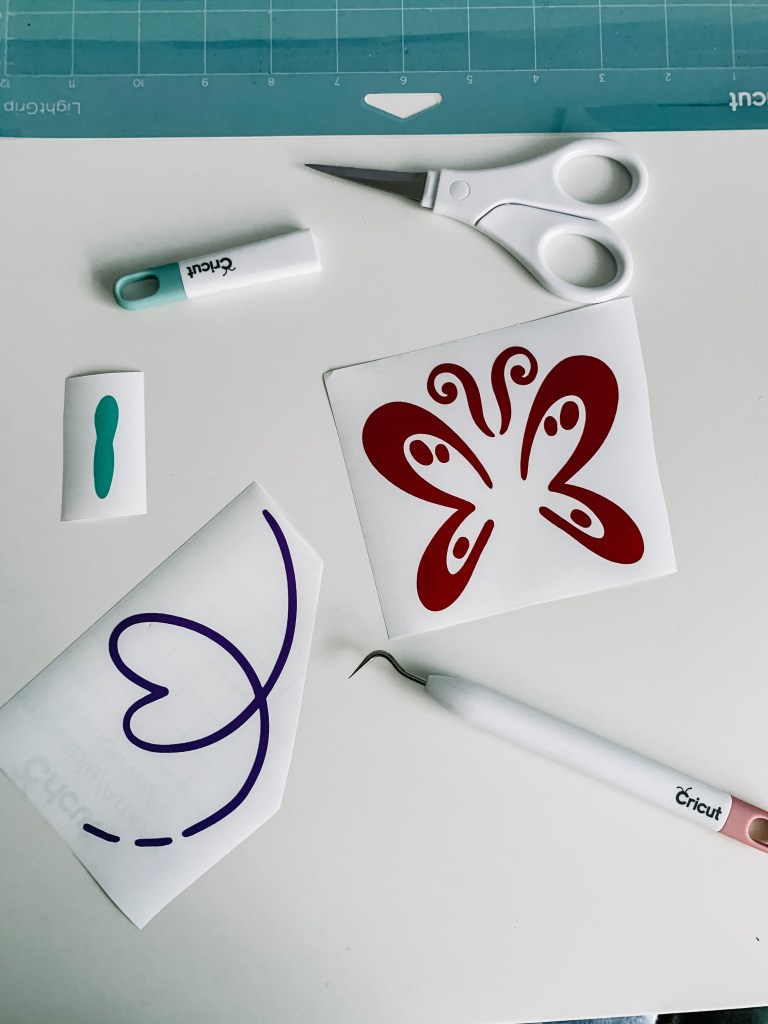
Step 3: Weed/Remove Excess Vinyl
Once each element of the design has been cut, you can then cut out around the design (to reduce vinyl wastage) and then peel off and weed any excess vinyl. This is where the weeding tool comes in handy.
Step 4: Apply Transfer Tape
The next step is to apply transfer tape. This makes it easier for you to apply the design onto the window so that the vinyl doesn’t wrinkle and get stuck to itself. Cut a piece of transfer tape/contact that is just a bit bigger than your design elements. Remove the backing on the transfer tape then apply the transfer tape to the design.
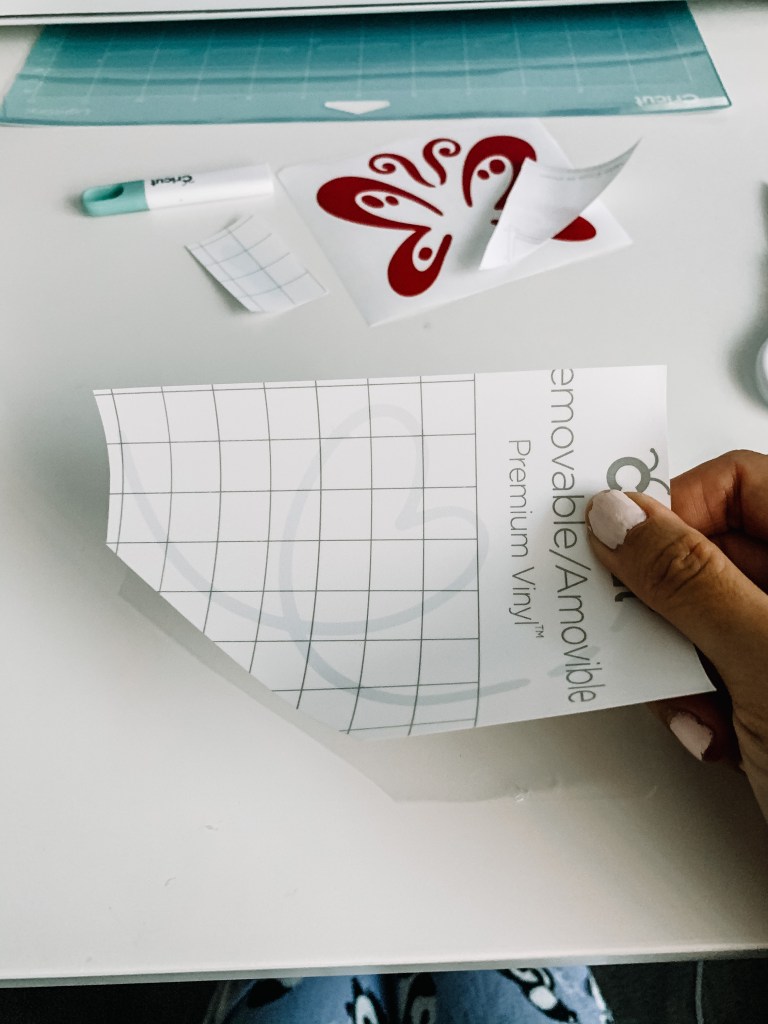
After you apply the transfer tape, you burnish the vinyl so that it adheres to the transfer tape.

Step 5: Clean Surface and Apply the Vinyl
Now it’s time to clean the window/surface you’re applying the vinyl to. I don’t have any alcohol wipes, but I do have plenty of baby wipes, so that’s what I’ve used to clean the window. After it’s dry, remove the vinyl backing/peel the transfer tape. The vinyl design should be attached to the transfer tape. If not, burnish some more!
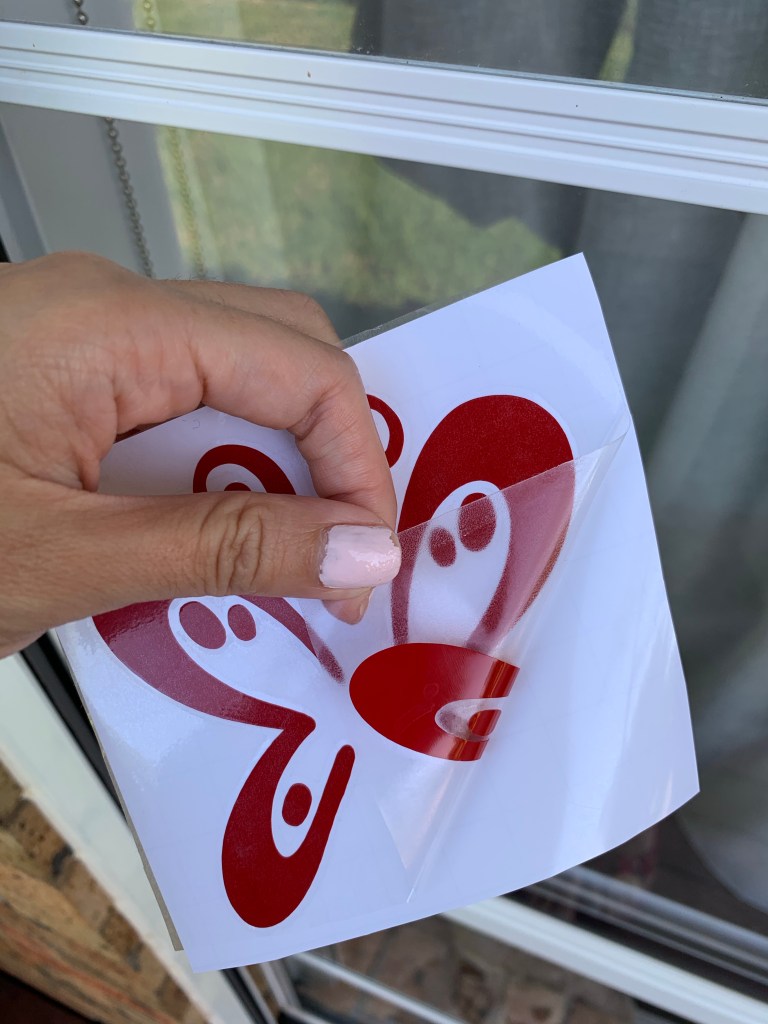
Choose the best spot for your design and apply the transfer tape onto the window. Use your scraper again to burnish it so that the vinyl sticks to the window.
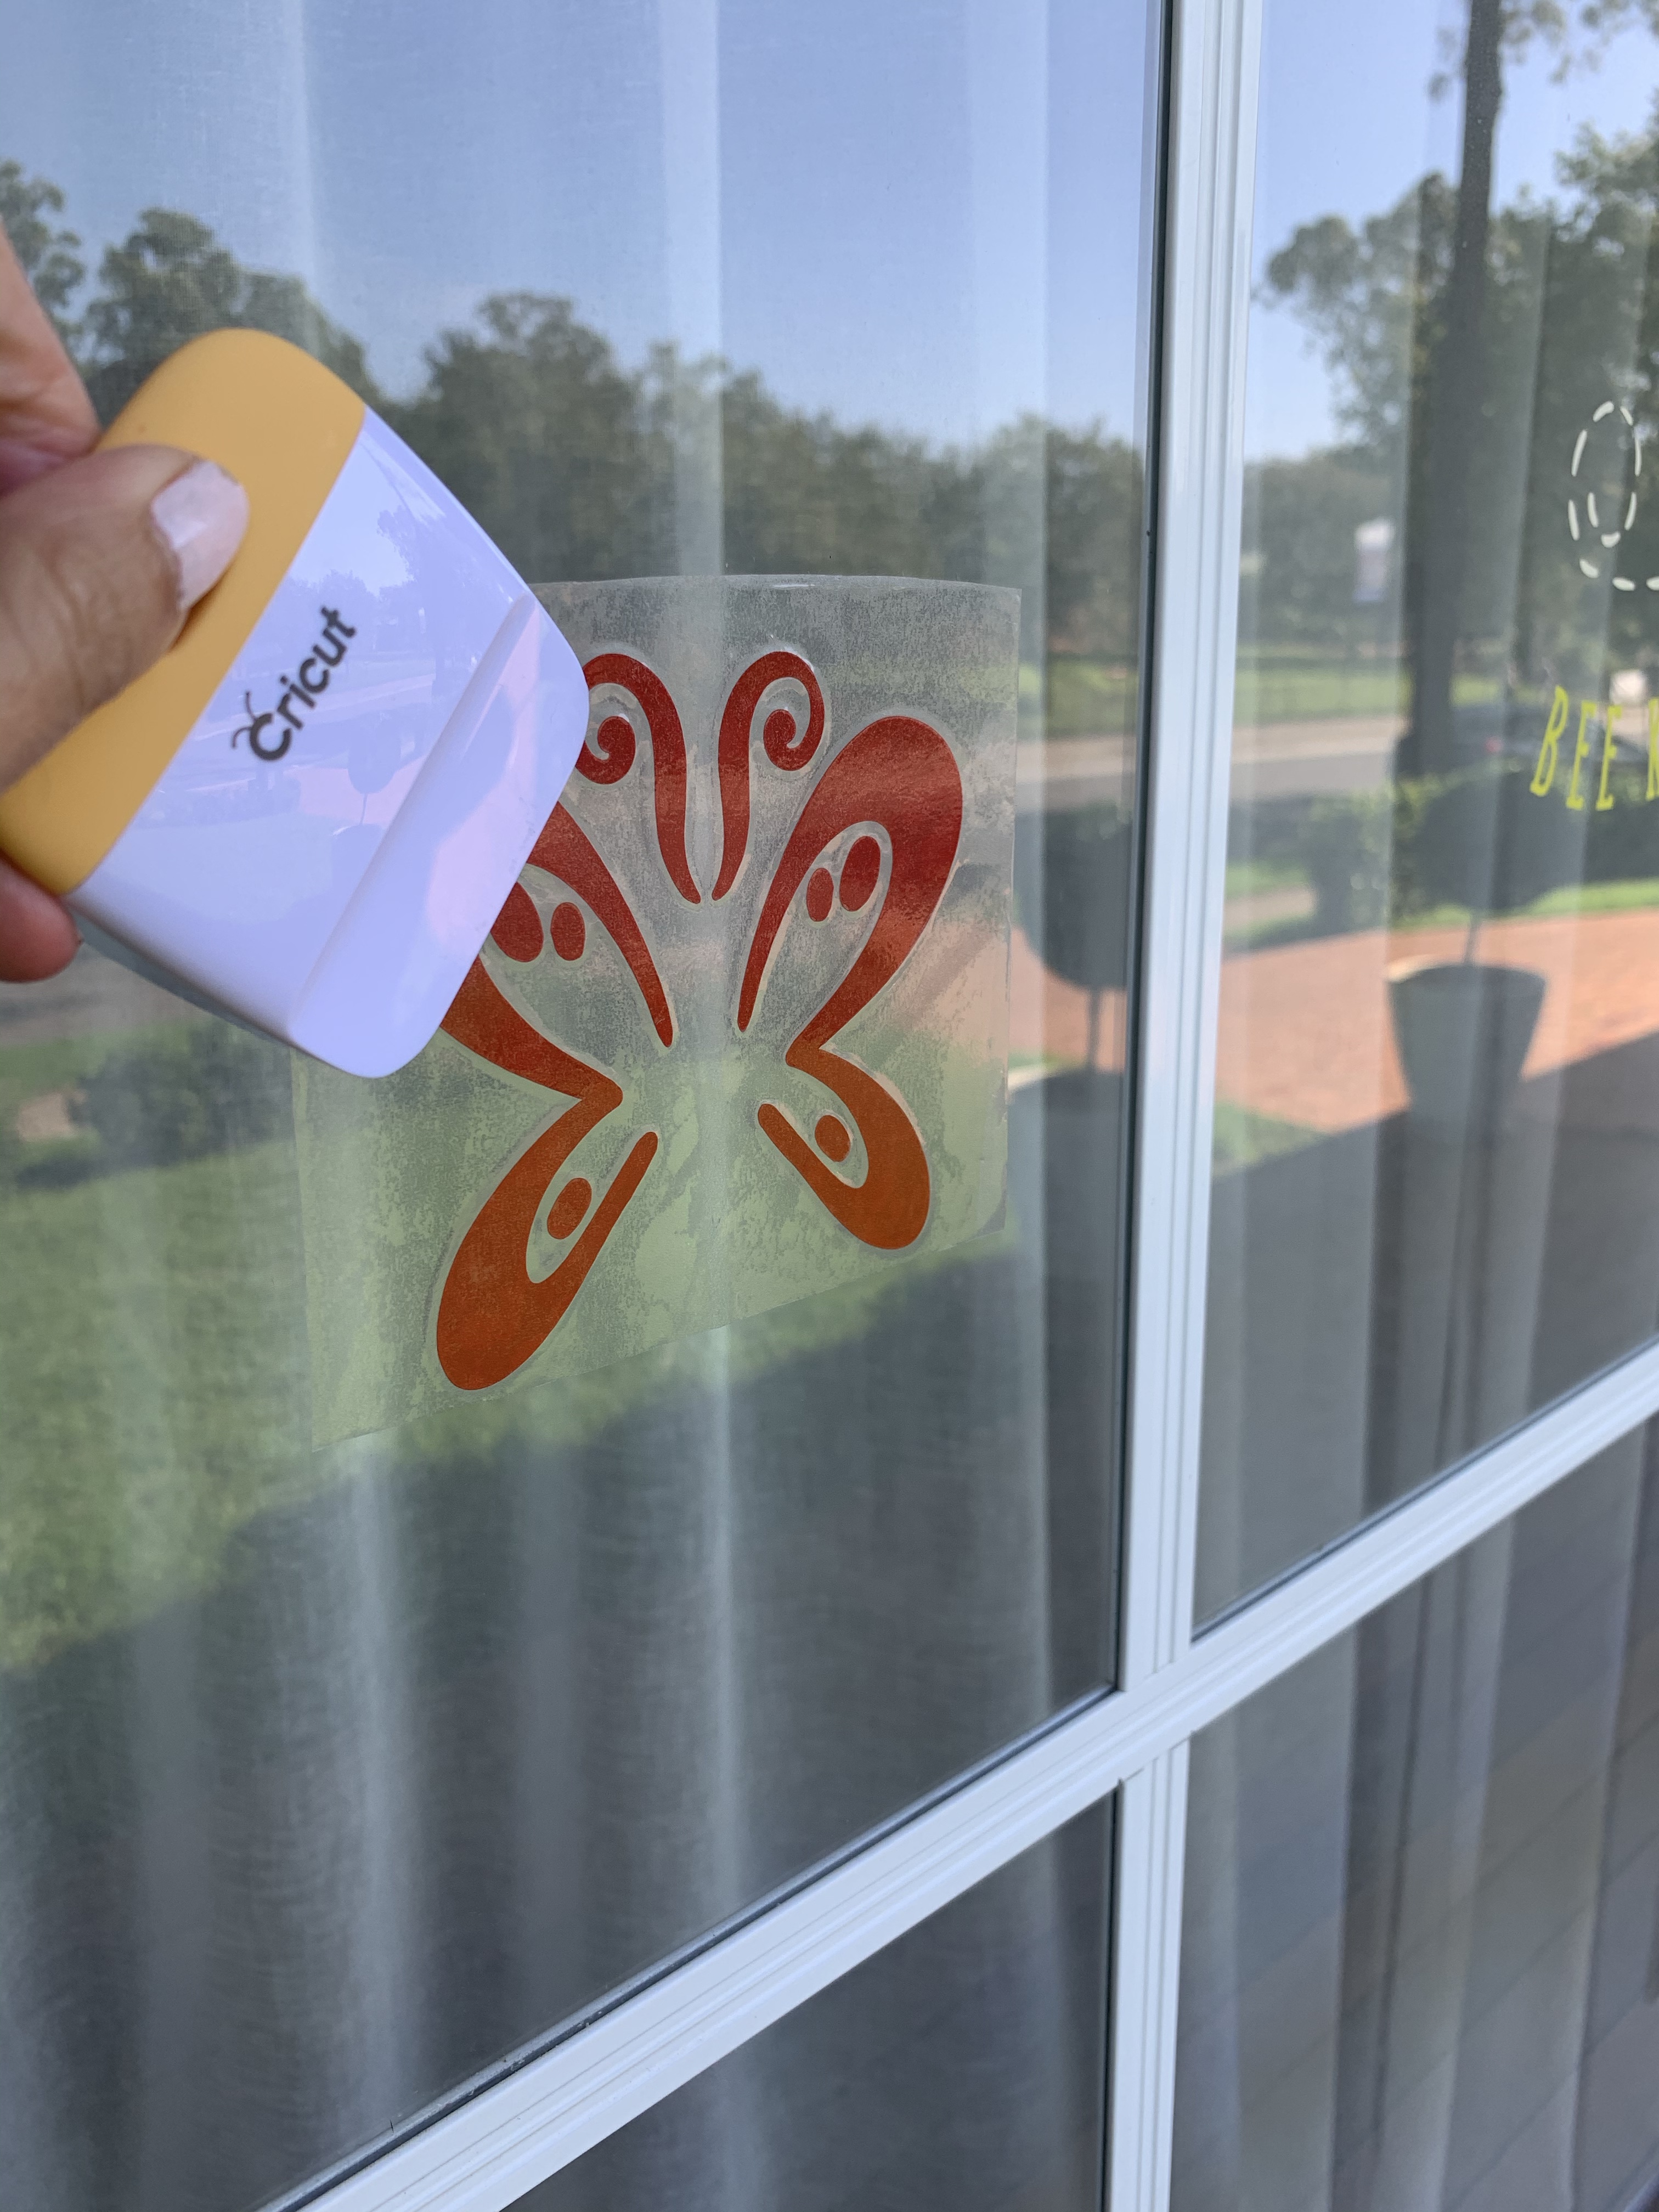
Remove the transfer tape and you have your beautiful design on your window!
Step 6: Enjoy your Design!
Final step – enjoy your creation! It’s very simple once you understand the steps and the process behind applying vinyl. There’s no limit to what you can create!

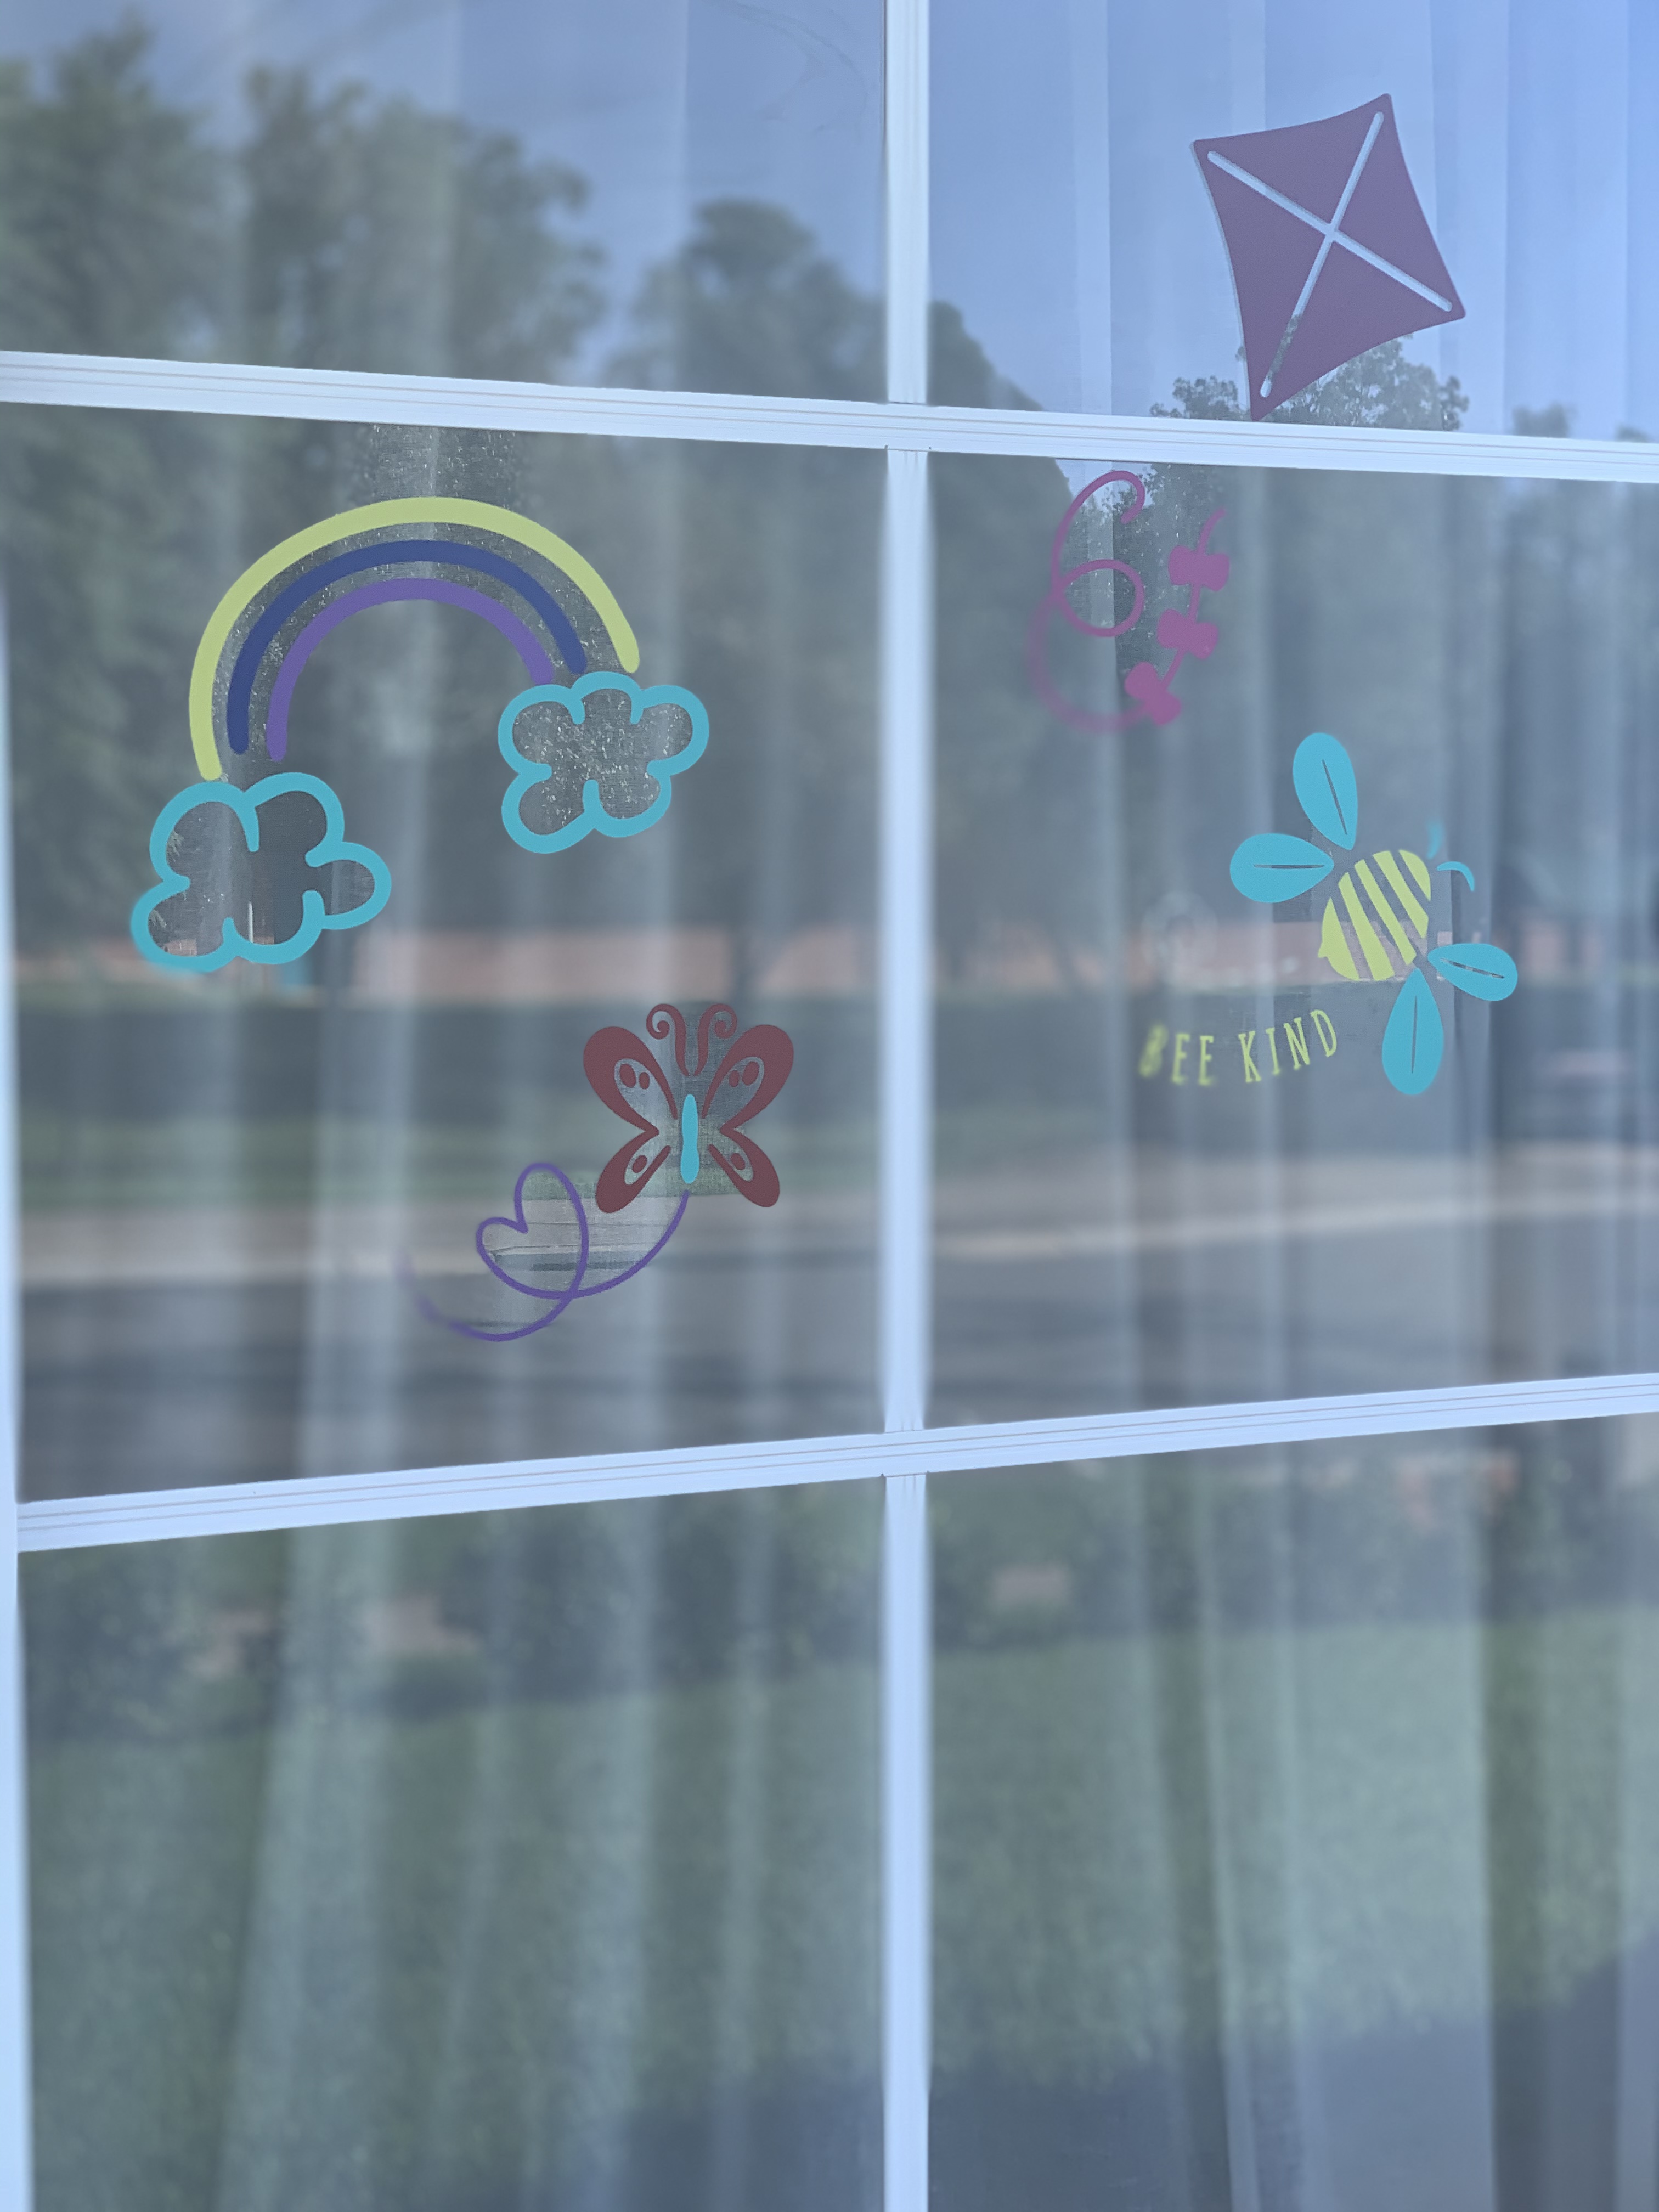
My Final #cricutwindowchallenge Scene
And here is my final window scene that I did for the #cricutwindowchallenge. I may have taken slightly more than 7 days to do it all, but it was so much fun! It’s taken me a while to write this up, but I finished the challenge over the Easter weekend so had to add a bunny and some easter eggs.
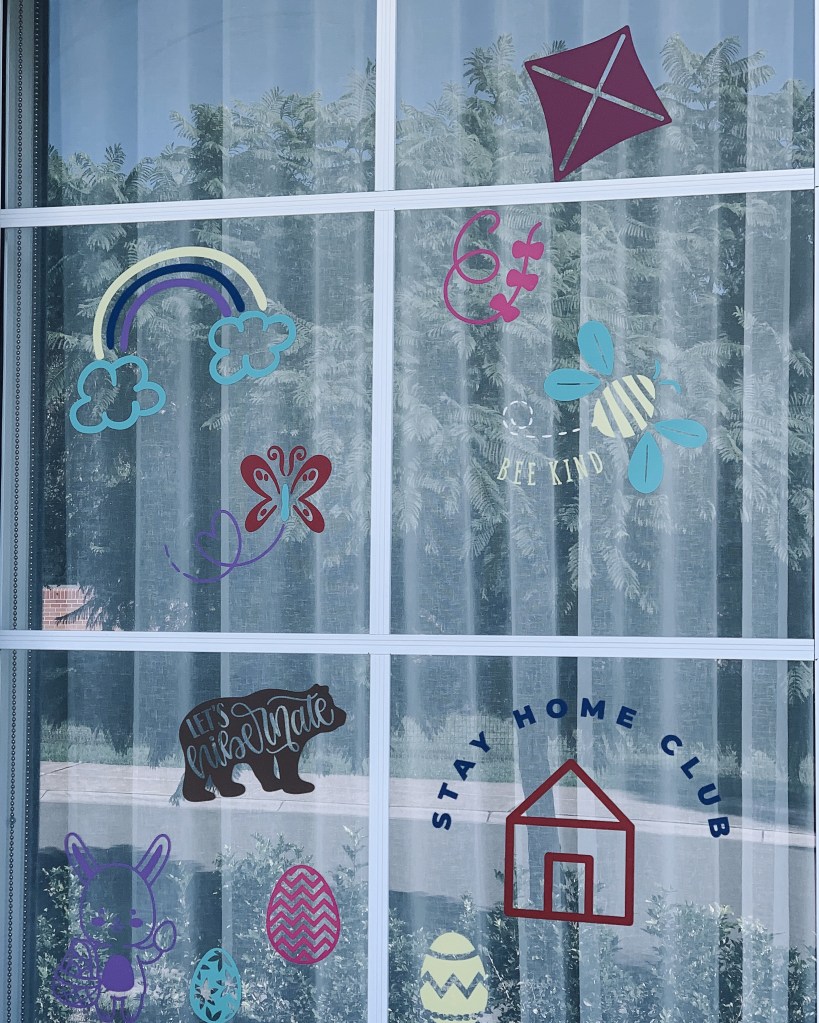
What do you think of my window scene? Which is your favourite element? I’m hoping that it’s bringing a smile to the people who walk past the house. I know whenever I see a teddy or rainbow in the windows of other houses it brings some cheer to me. Have you been putting a rainbow or teddy in your window? Let me know!
