With Easter less than 2 weeks away, it’s definitely time to be thinking about all your Easter projects. I’m going to use my Cricut Explore Air 2 to create an Easter t-shirt for my son using Infusbile Ink Pens. With all the social distancing happening, I decided to do a project using the Infusible Ink pens so that Harry could be involved with colouring in his own design. It was a great way to spend the afternoon together.

Infusible Ink is a fantastic new way of creating designs. For t-shirts, the ink is infused into the shirt – so you don’t feel that layer of vinyl sitting on the shirt. There are so many creative possibilities with infusible ink. For this project, I’m going to use an Easter Egg design and let my son colour it in. Bonus that he’s involved in the creative process! For the super creative people out there, you can actually draw your own design! You just have to be mindful that the image needs to be mirrored – which is important if you have text in your design.
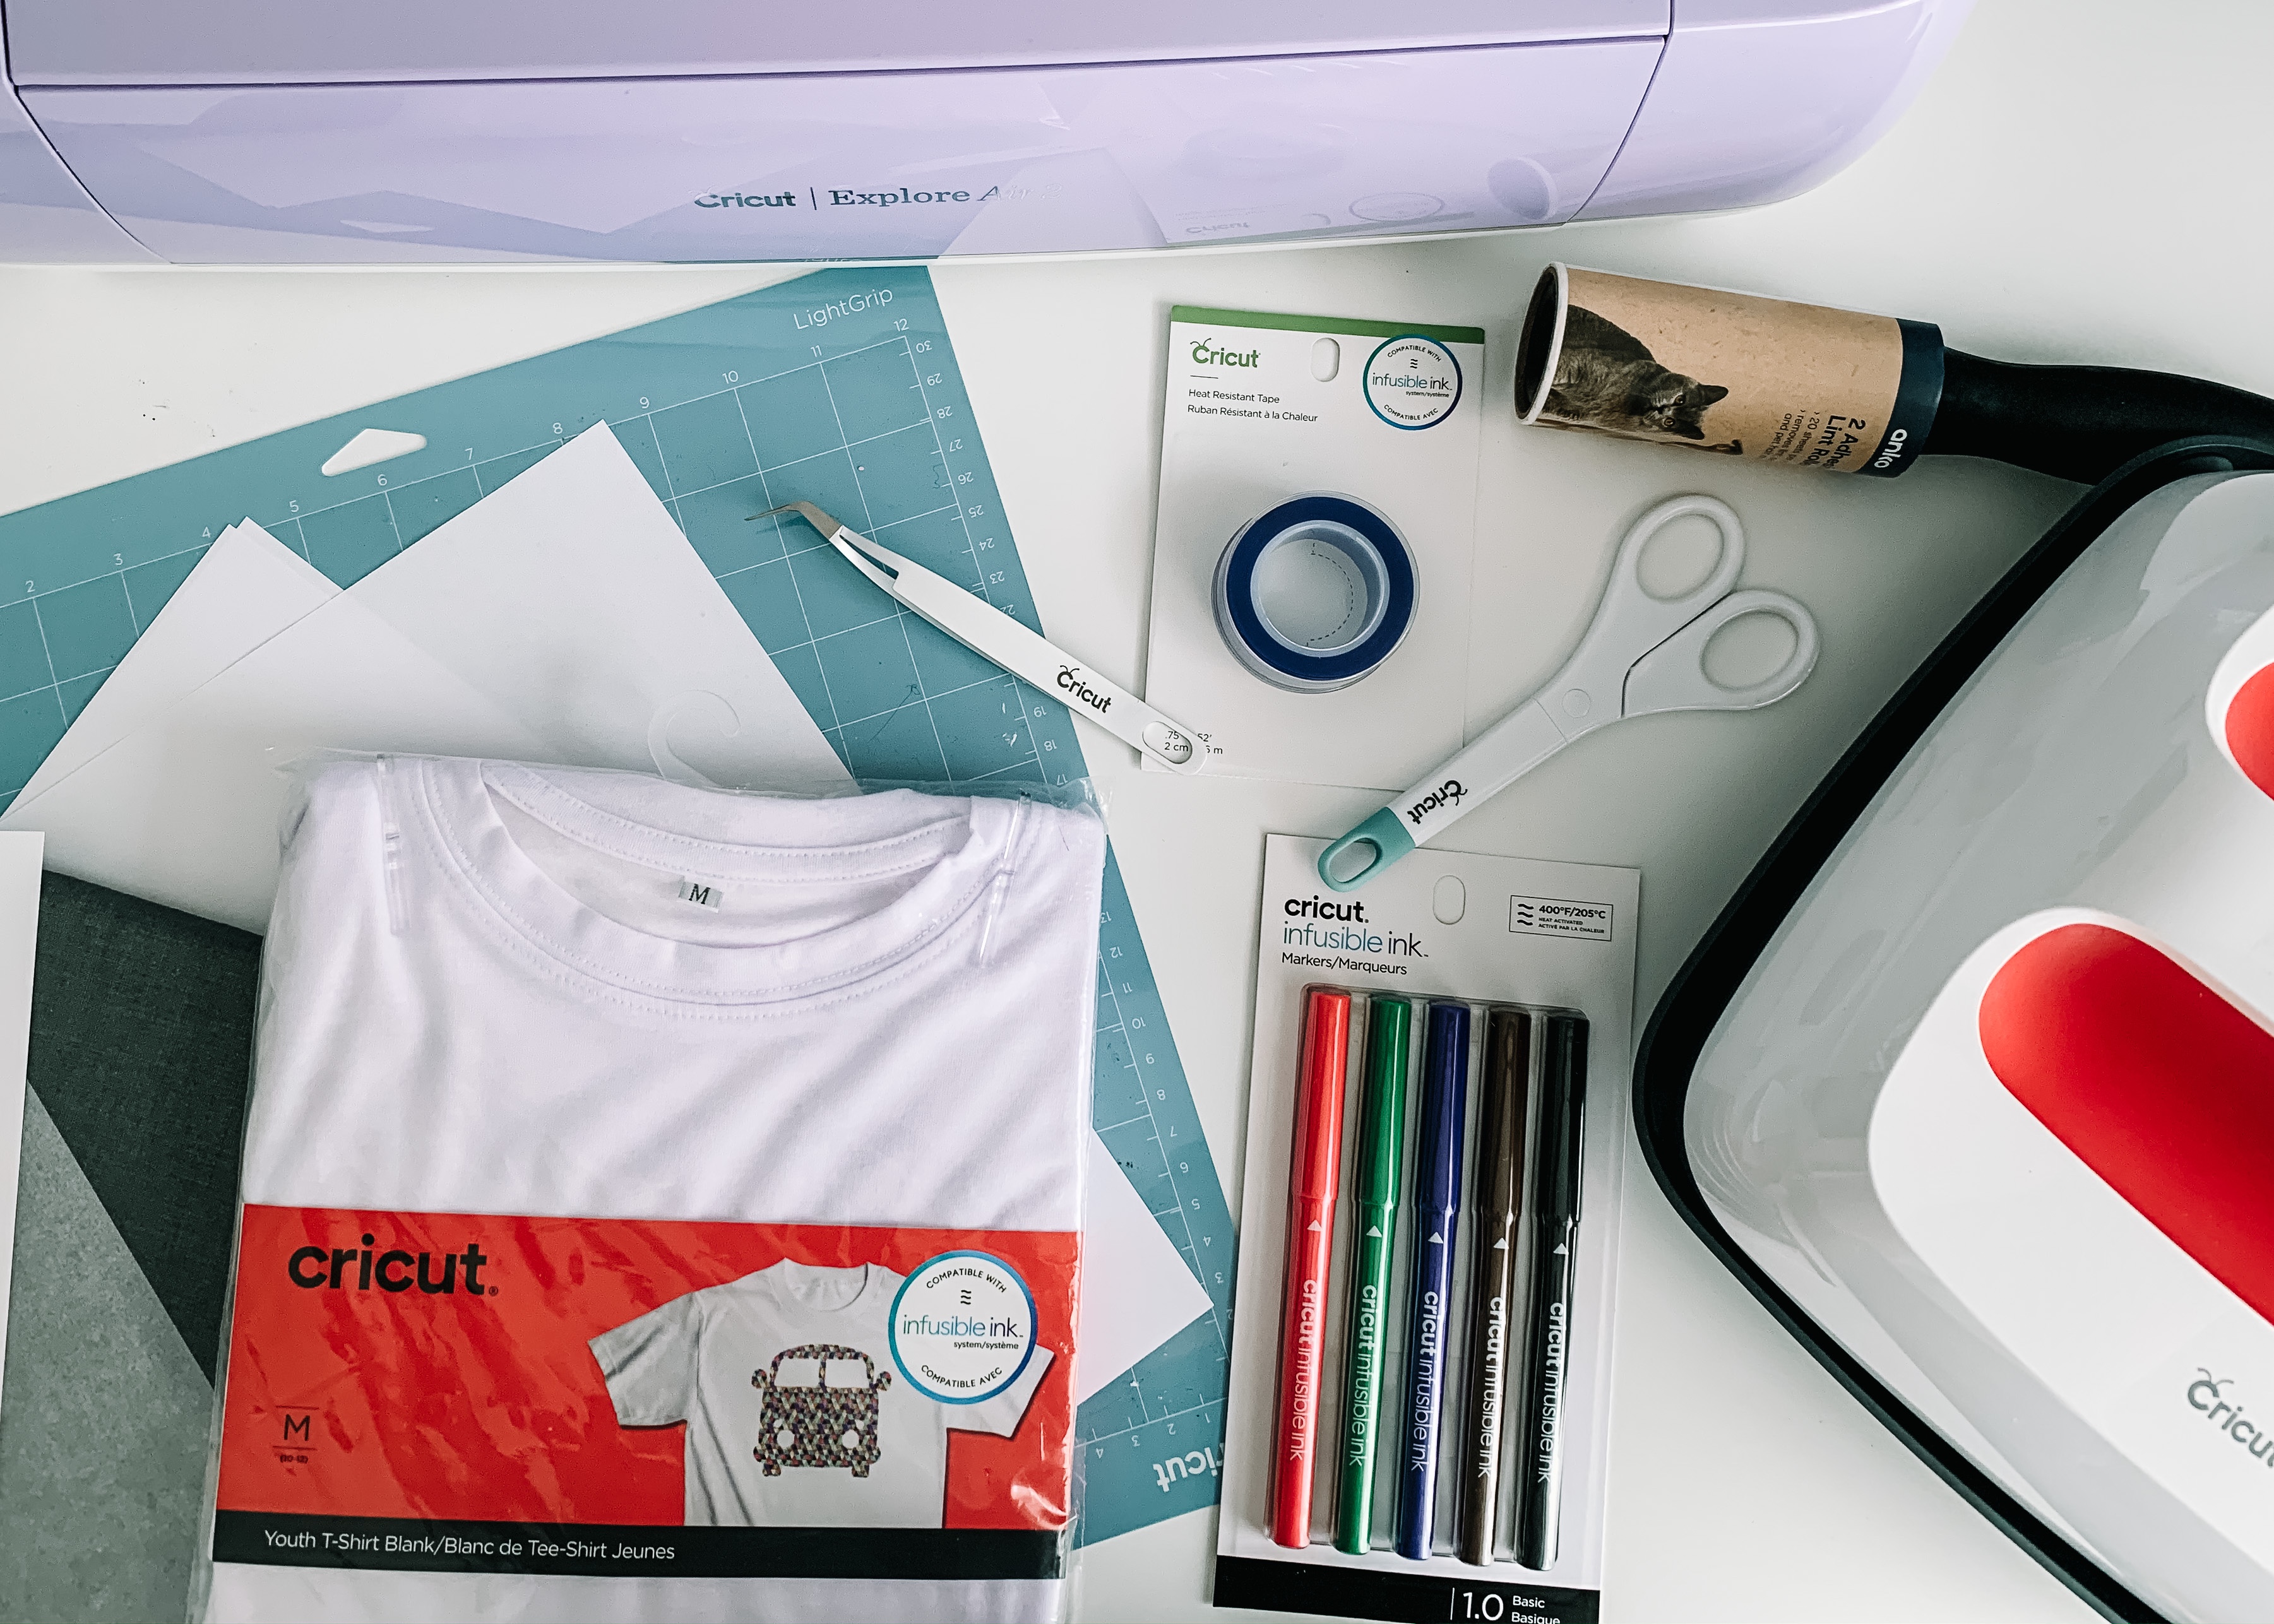
Materials Used
- Cricut Explore cutting machine
- LightGrip Machine Mat
- Cricut EasyPress 2
- Cricut EasyPress Mat
- Cricut T-shirt blank (compatible with Infusible Ink)
- Infusible Ink Pens or Markers
- Heat Resistant Tape
- Laser copy paper
- Baking Paper
- Cardstock (I actually used the cardboard insert that came with the t-shirt blank)
- Lint roller
- Scissors
- Design Space software on mobile device or computer
Create/Draw your Design
The first step is to create or draw your design. As I’m not overly artistic, I used Cricut Design Space to create my design. You can use Design Space on your desktop or phone. You can sync between the two platforms as well so you can create on the go easily. I chose an Easter Egg image, added the olive branches and the Hoppy Easter text. I welded the separate elements together and selected draw (rather than cut) for the linetype.
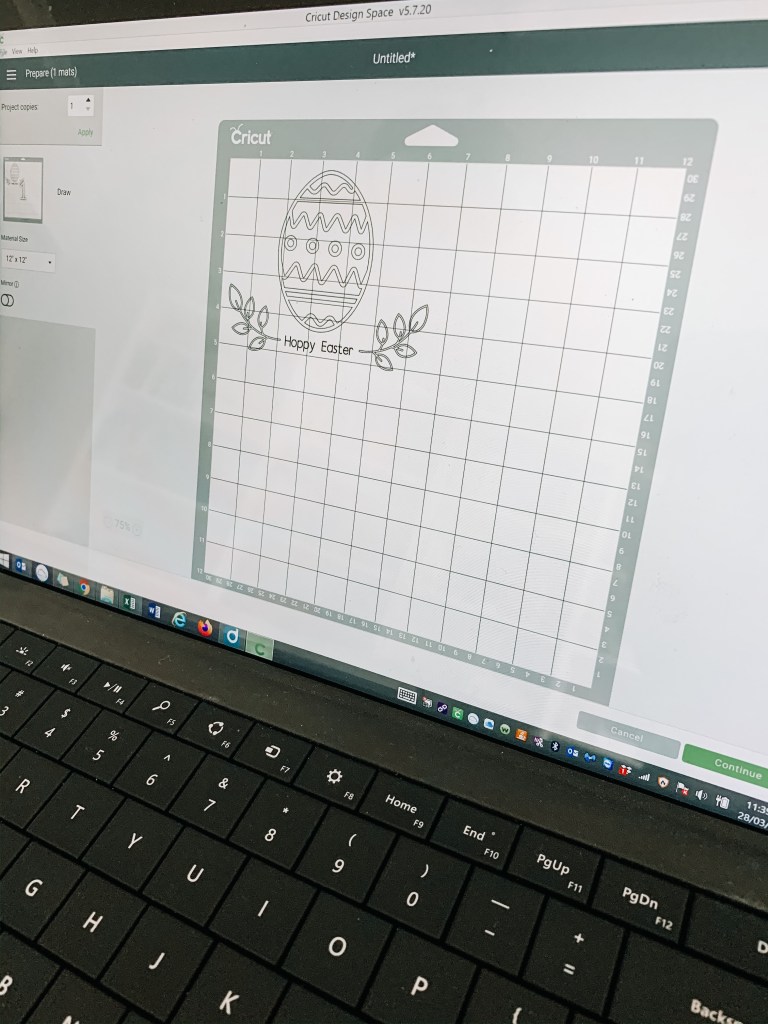
I then inserted the black infusible ink pen into clamp A of the Cricut Explore Air, loaded the normal copy paper on the light grip mat and the machine drew the design. Don’t forget to mirror your design!! I only remembered after I started the drawing and had to cancel and start again.

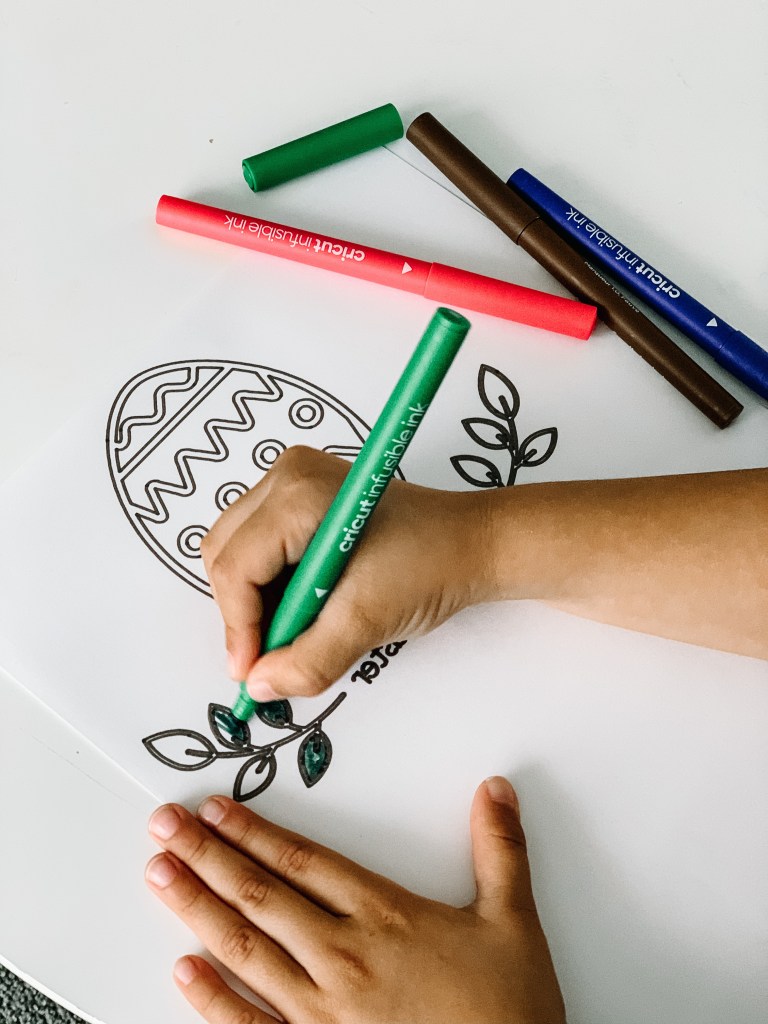
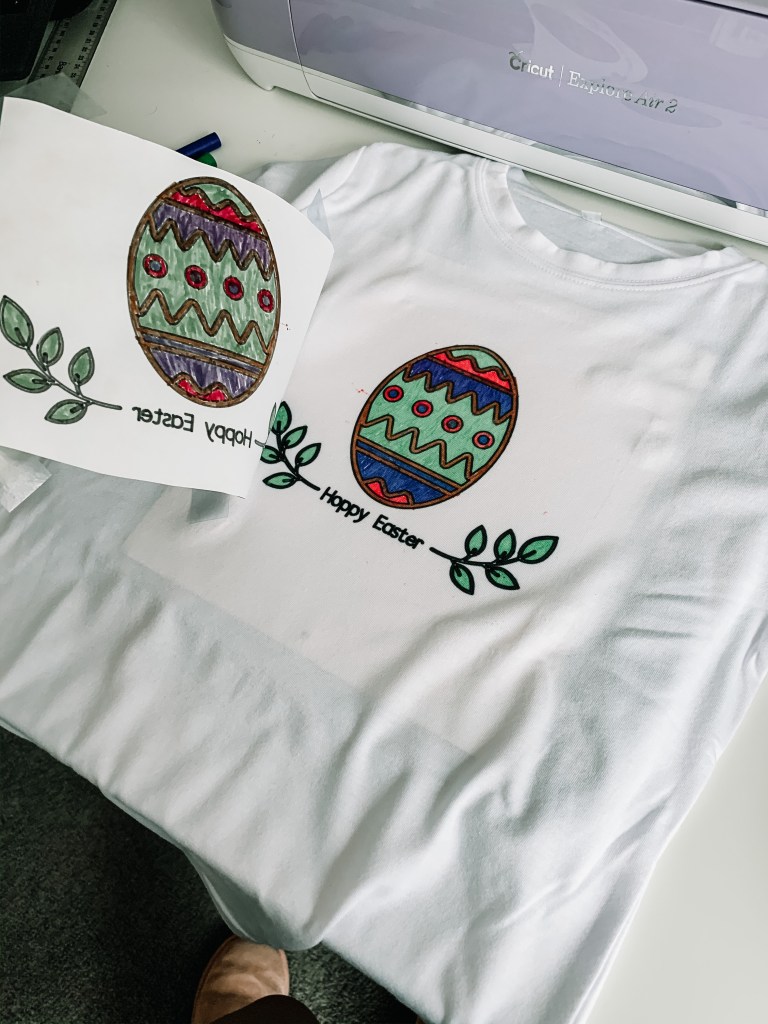
Once the design has been drawn, remove the mat from the machine and remove the copy paper. The trick to removing the paper without it curling is to turn the mat upside down and remove the mat from the paper (hold the paper flat, and bend the mat to remove it). Now comes the fun part – using the infusible ink pens to colour in the design.

You’ll notice there’s a spot of pink just outside of the Easter Egg – I could have cut that piece of paper out, but figured the extra spot is part of the charm of something that Harry created. The colours look quite dark and dull when you colour in your design – but after the heat transfer process, they become a lot more vibrant.
Apply the Design
Place the t-shirt on the Easy Press mat and insert the cardstock into the shirt to protect the other side of the shirt and mat. Here’s a hot tip – I actually used the insert that came with the blank t shirt – just remove the hook that’s on it. You want a piece of card stock that’s larger than your design size and white card stock works best.

Use a lint roller to remove any bits of fluff. Even if it doesn’t look like there’s anything on it, you still need to follow this step. Place the baking paper over the shirt and pre-heat the material to remove any moisture and wrinkles that may result in unwanted effects. For this project, set the Cricut EasyPress 2 to 195°C and preheat for 15 seconds and use even, light pressure.
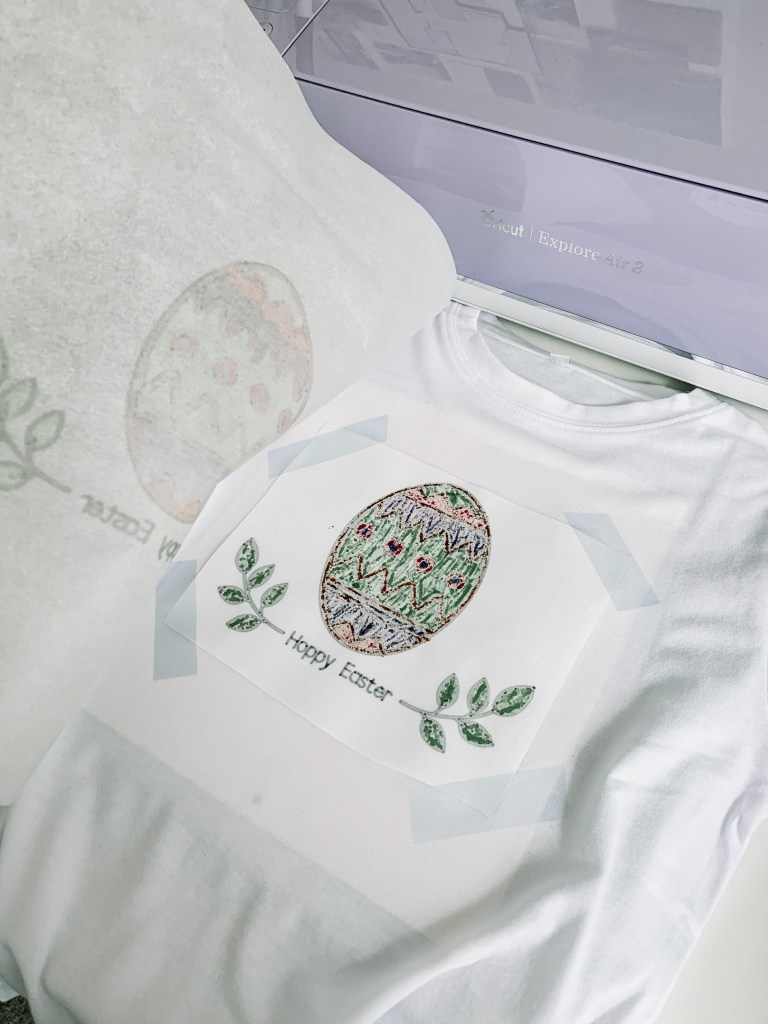
Next you remove the baking paper and let the shirt cool completetly. Place the cut design face down on the shirt. (The colour ink side should be against the shirt). Use heat resistant tape to tape the corners of the design down so that it doesn’t move while you’re doing the transfer. Place the baking paper on top of the design.
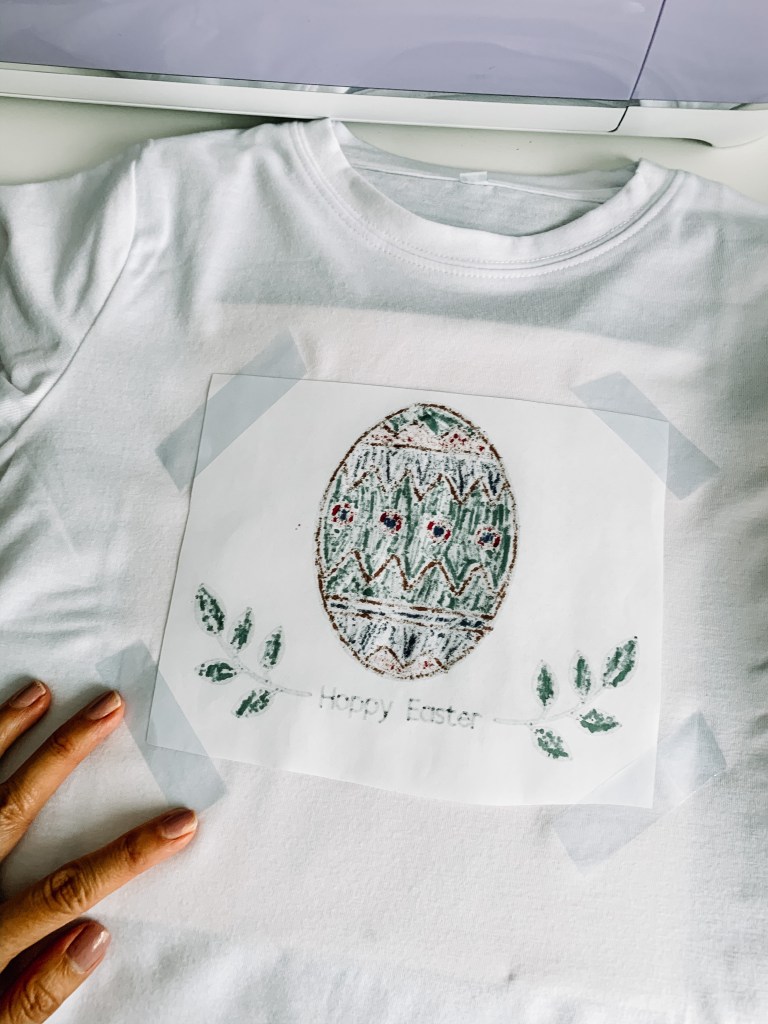
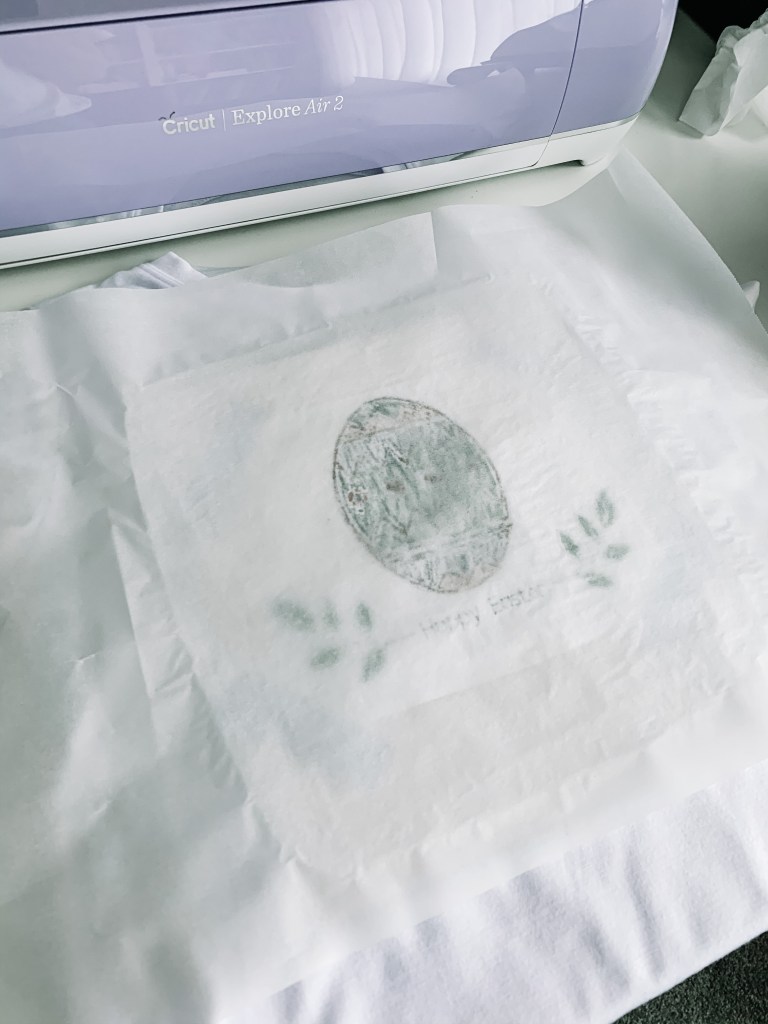
Make sure your Easy Press 2 is still at the correct temperature. Press at 195°C for 40 seconds using light pressure. Don’t move the Easy Press 2 around – keep it as still as possible. When the 40 seconds is up, slowly lift the press. Try not to move the stack, including baking paper.

Let the t shirt cool completely, then slovely remove the baking paper, tape and design. You won’t be able to re-use the baking paper. And that’s it! You now have a fantastic custom t shirt that you won’t see anywhere else!
Have you used infusible ink before? Do you have any questions about the process? Let me know below and I’ll help as much as I can! We may be forced to stay home for our Easter celebrations this year, but we should still have fun at home! Have you done any Easter craft yet? Give me some ideas of other projects I can do.
** Please note – the Cricut Explore Air 2 and materials were provided to me as a gift to allow me to create and share this and other projects **
